MISSION 1.2: Fall Back

Mission Setup:
Surprised by the Ultramarine attack, and fearful that the arrival of the full Imperial Force is imminent, the traitor governor Hanz Malorak VI, has demanded that his new Tau Allies return their forces to Titan Prime and oversee the Defensive preparations.
The Tau Commander, more mindful of having his small force trapped on Tethys and less worried about Malorak’s pathetic demands, is attempting to withdraw his forces to bolster the defences of Titan Prime. The hive world is much better suited to a long drawn out campaign, and there will be plenty of Geu’vesa fodder to throw at the Imperials before the Tau need commit their meager forces.
To try and prevent this withdrawal, the Ultramarine commander of the Rapid Insertion Force has decide to cut them off before they can leave, with the hopes of severely hampering the defence of Titan Prime and possibly leaving the unaided rebel Defence Force open to lightening attack by the full Ultramarine Task Force when it arrives.
While the wholesale destruction of Tau Forces would always be welcome, of more value than the Tau troops in this case are their supplies. A large stock pile of ammunition, weapons and equipment is on Tethys with the Engineering Cadre, and its destruction would be a crippling blow to the Tau defence of the system.
OPPOSING FORCES
Tau Forces: Fire Warriors from the Setpworld of Fi’Rios 1000pts
Commander ‘Calmstar’ O’Vash, TL MP, DC, Target Lock, Marker Drones x2 142pts
– Crisis Bodyguard x 2, Dual PR, 124pts
Commander ‘Banetide’ O’Kais, TL MP,DC, Target Lock, Marker Drones x2 142pts
– Crisis Bodyguard x 1, Dual FB, 62pts
Fire Warrior Team x 6, 54pts
Kroot x10, 60pts
Stealth Suit x3, BC x3, 90pts
Stealth Suit x3, BC x3, 90pts
Pathfinder team x4, EMP grenades, 52pts
Pathfinder team x4, 44pts
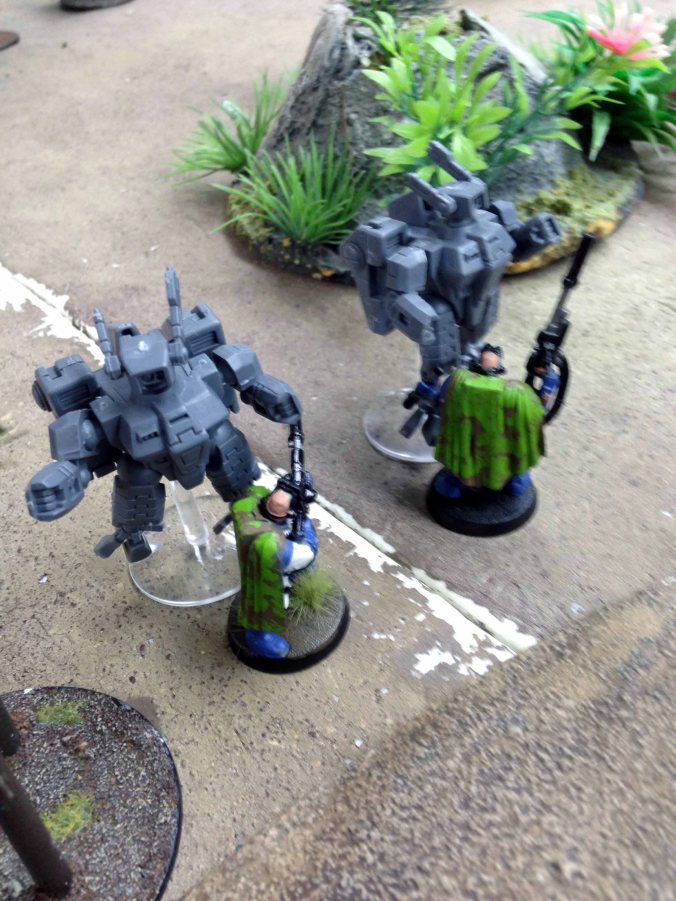
Broadside Suits, TL HYMP, TL SMS, EWO, 70pts
Broadside Suits, TL HYMP, TL SMS, EWO, 70pts
Imperial Forces: Ultramarines Space Marine Chapter 1000pts
Captain Fabian, Artificer Armour, Bike, Shield Eternal, TH, 210pts
– Command Squad, bikes, 4 grav gun, 1 x SS, Apothecar,y 220pts
Scout squad x5, camo cloaks. bolt pistol & CCW, 65pts
TAC squad x 9, PG, NL, Rhino, 205pts
– Sergeant Volus, bolt pistol & chainsword
Ironclad Dreadnought Brother Boris, PF & HF, SH & MG, DP 170pts
Vindicator, dozer blades, 130pts
Deployment:
Dawn of War is rolled on the deployment table, while Tau roll to go first.
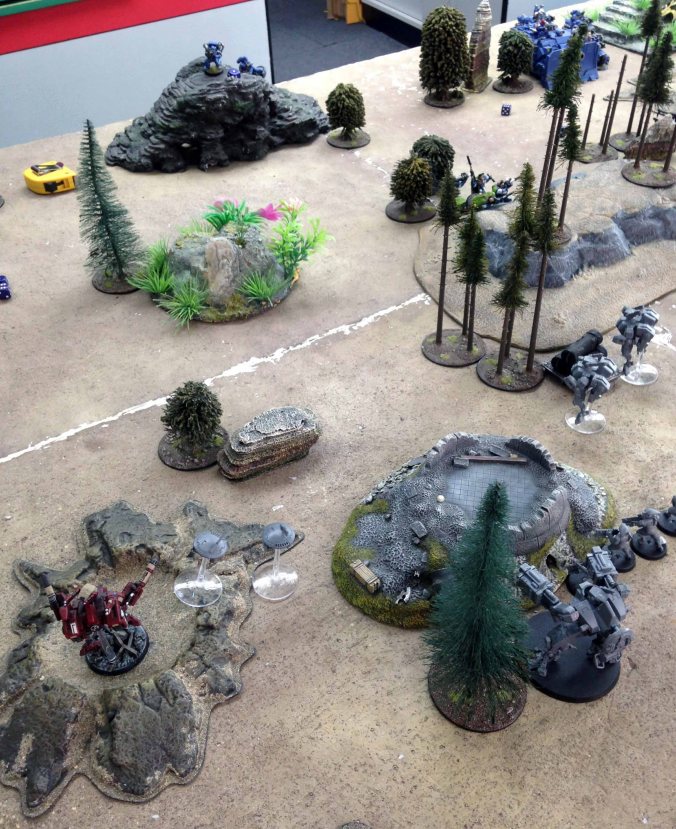
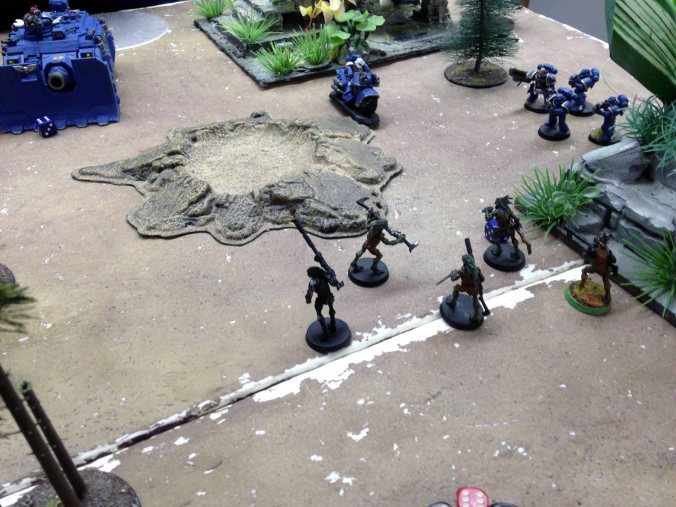
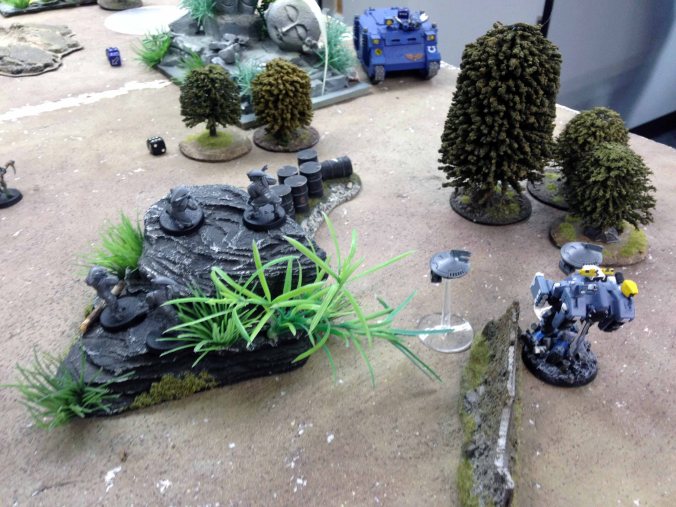
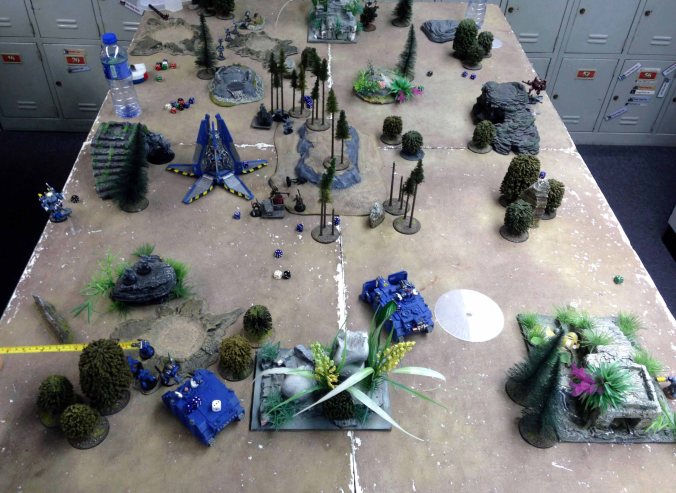
The Tau begin the game spread along their depoyment zone, with the objectives spaced just in front of their lines. Kroot and stealth teams will infiltrate.
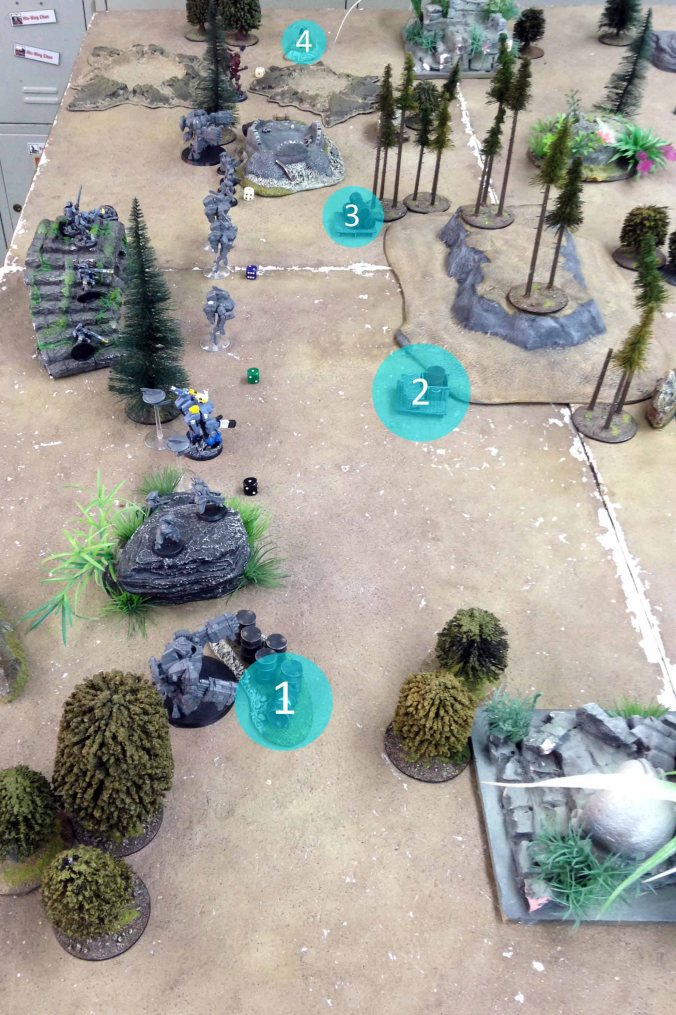
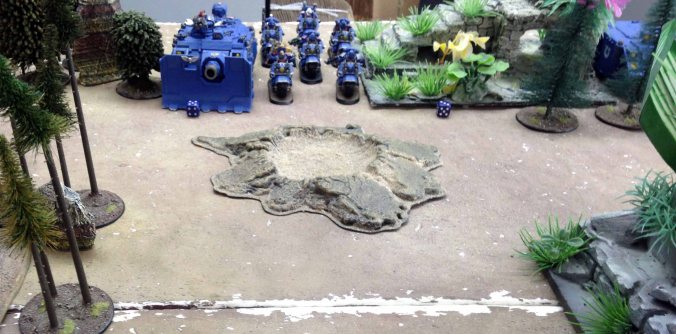
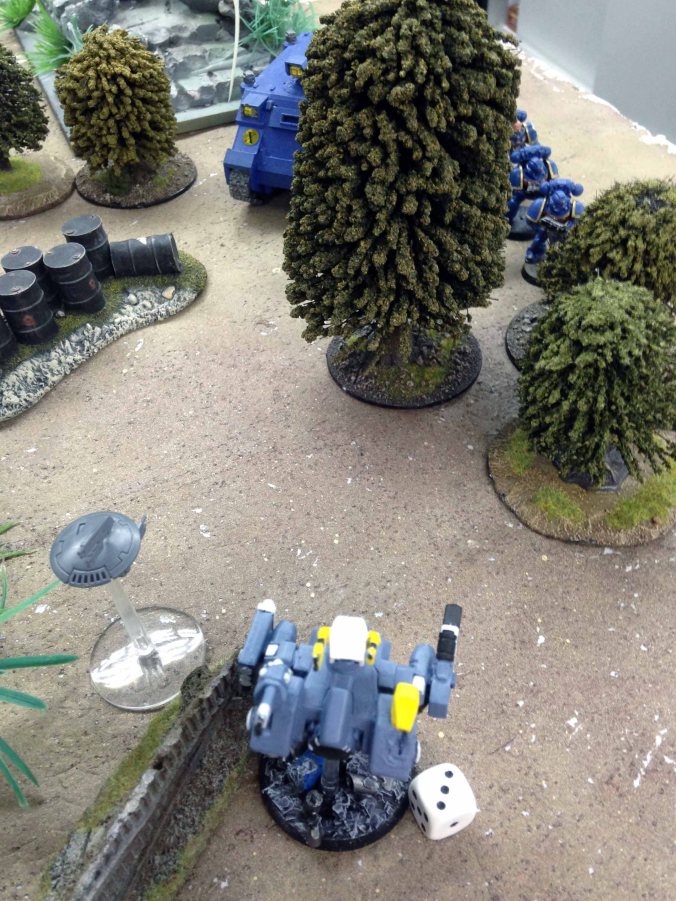
Space marines deploy all units on the Tau right flank, with Ironclad in reserves and scouts infiltrating
Turn 1:
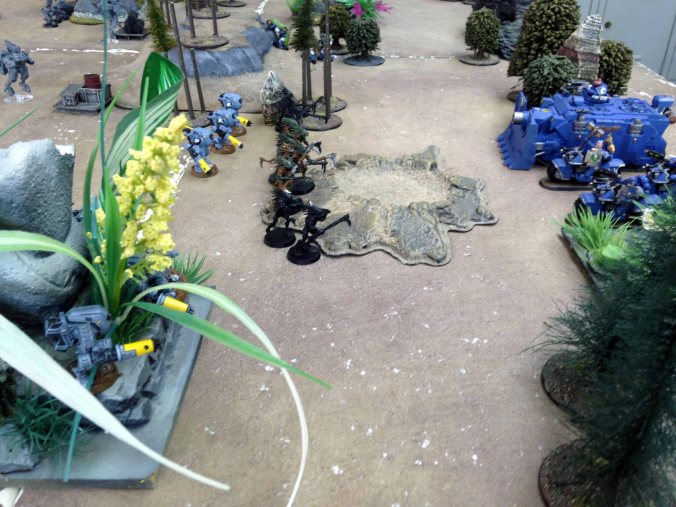
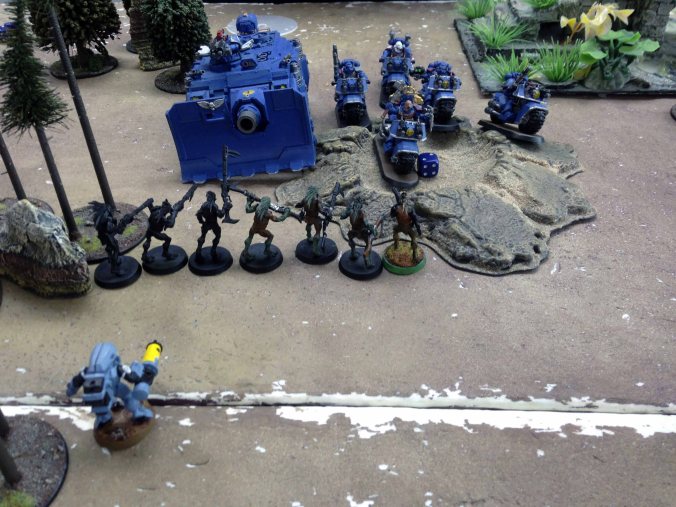
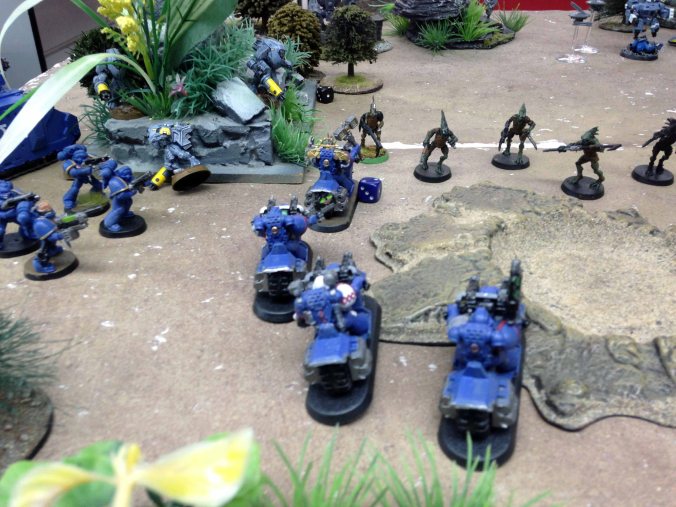
Kroot and Stealth Teams infiltrate in front of the bike squad, attempting to box them in. Most shooting is then directed at the bikes, but only manages to kill one marine. The left flank broadside does kill some TAC marines in the ruins too
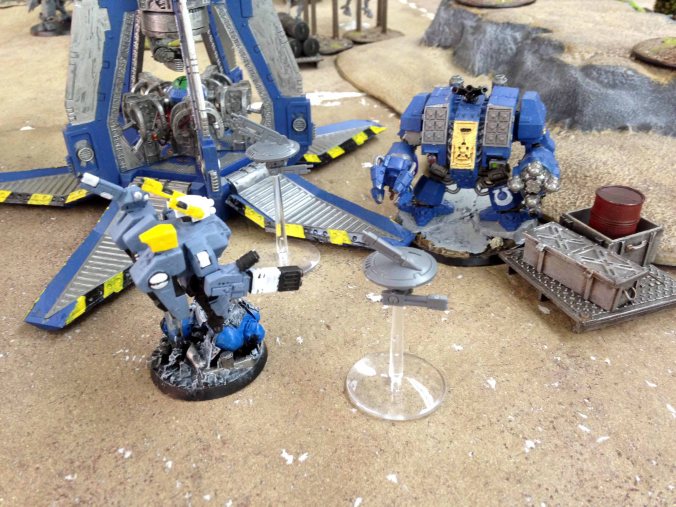
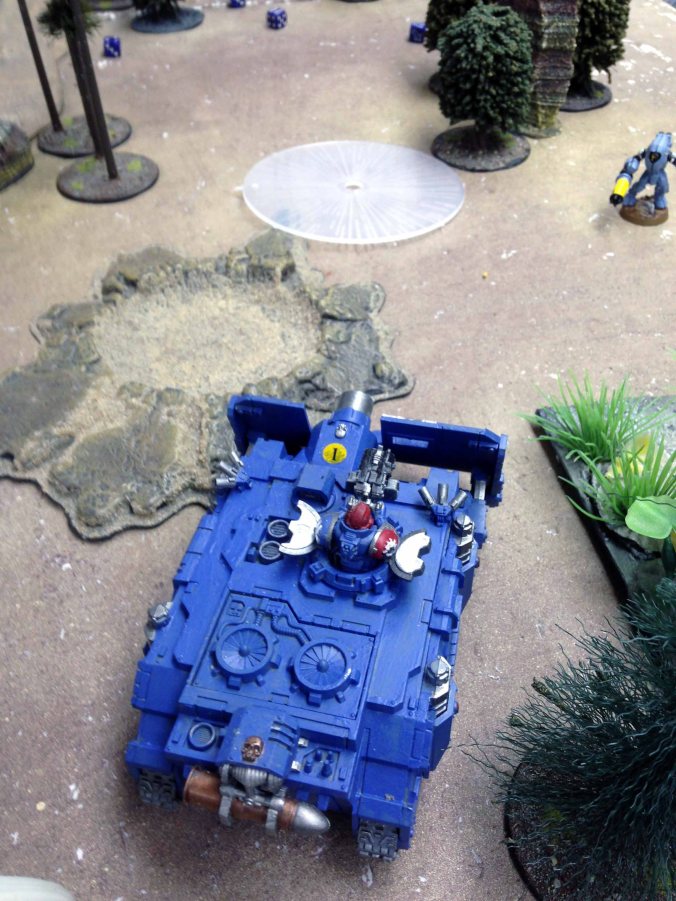
Ironclad comes and is intercepted by the broadsides, who glance it. The ironclad also misses the fusion crisis suit with its melta shot. Elsewhere the bike squad, vindicator and rhino all come forward and kill some kroot and two stealth suits. Bike charge on the remaining stealth suit fails.

Turn 2:
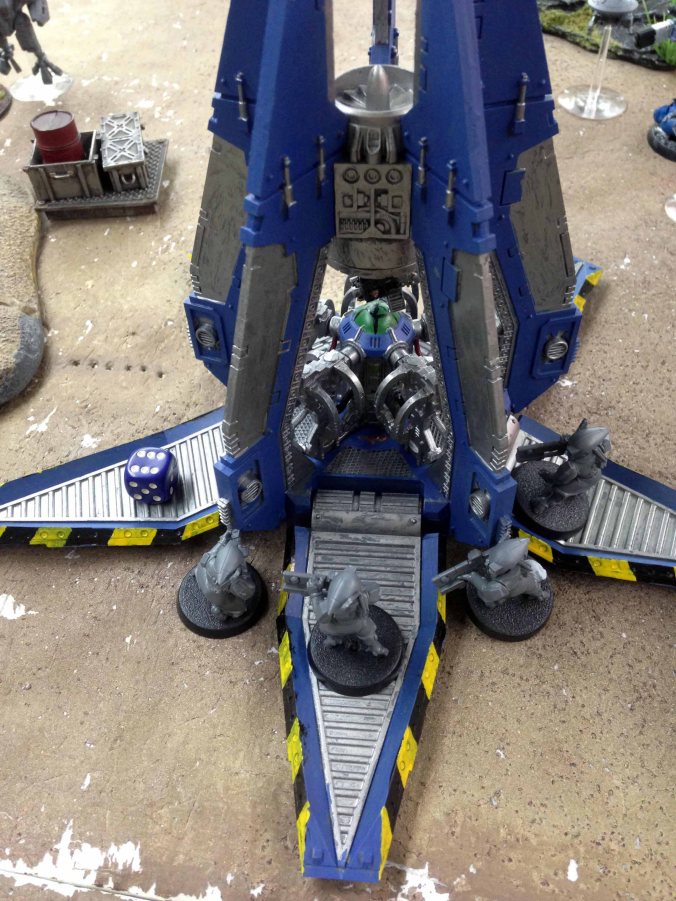
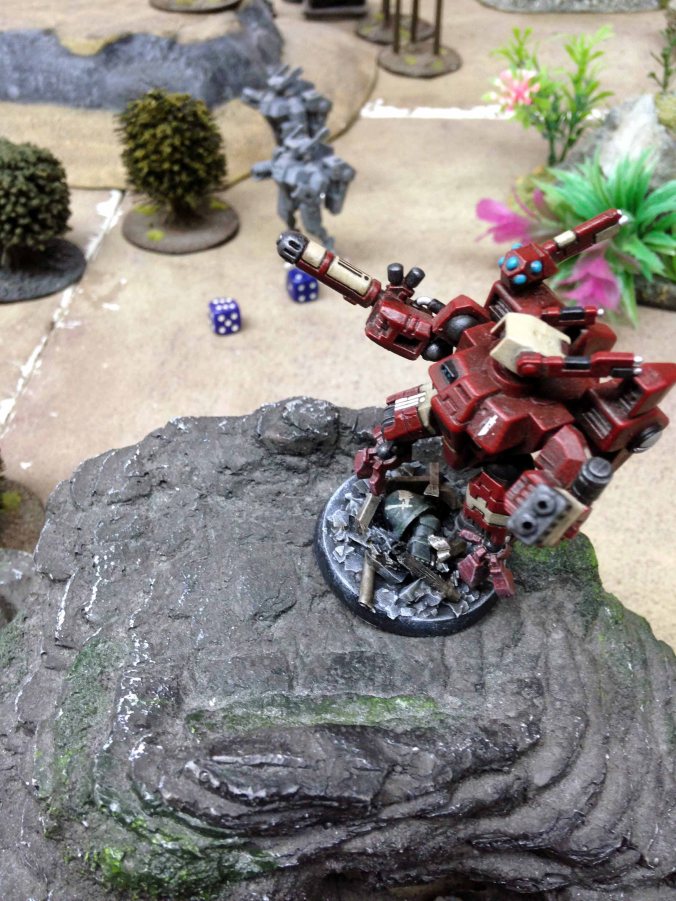
Fusion crisis suit one shots the ironclad, while the pathfinders wreck his drop pod with EMP grenades. All other shooting kills another biker and wounds the captain
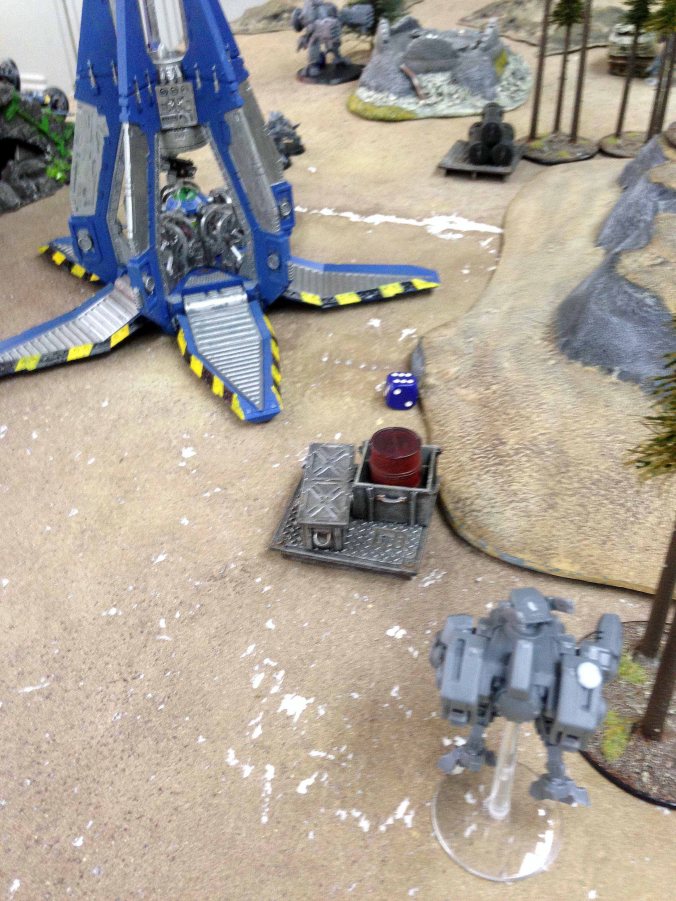
Bikers try to circumvent the kroot by going after the stealth hiding in the ruins. Unfortunately, they kill them all in shooting, leaving them with no one to charge and stuck out in the open. Vindicator exacts revenge for the ironclad by killing the fusion crisis suit, but the scouts fall to the plasma crisis in close combat
Turn 3:
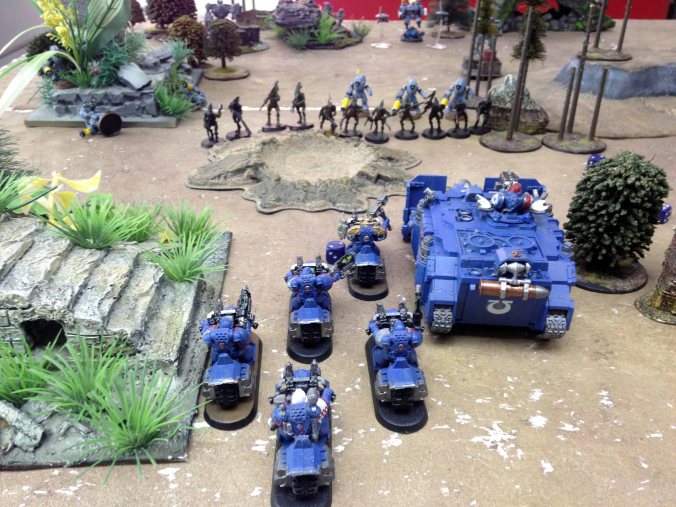
For a third turn, the Tau throw everything at the bike squad and it collapses, leaving only the medic alive. Commander also takes out the TAC squad in the ruins
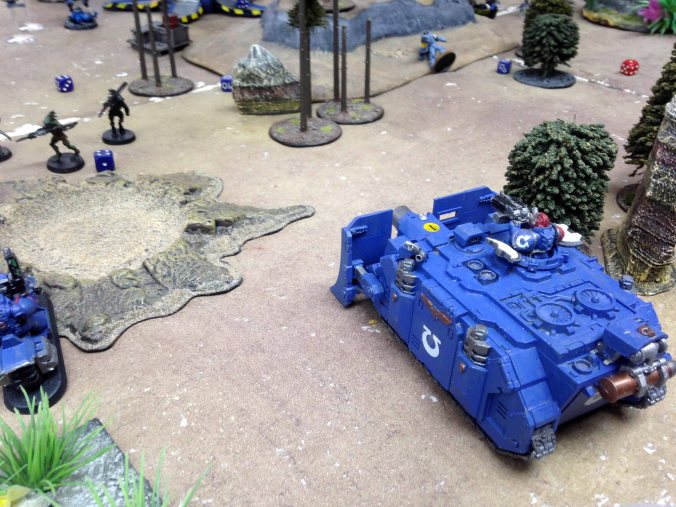
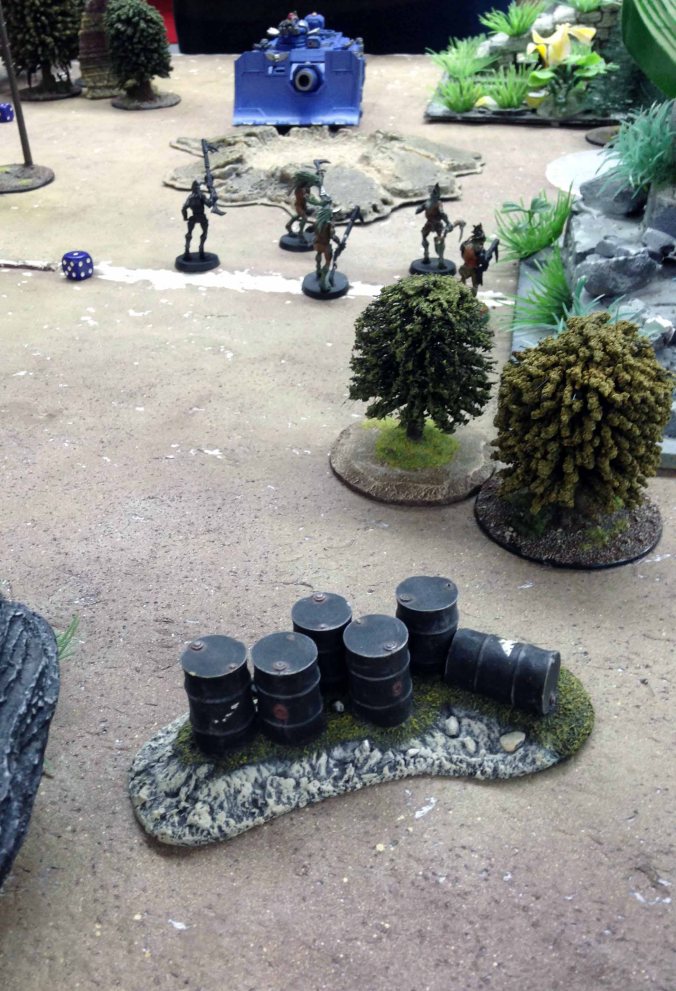
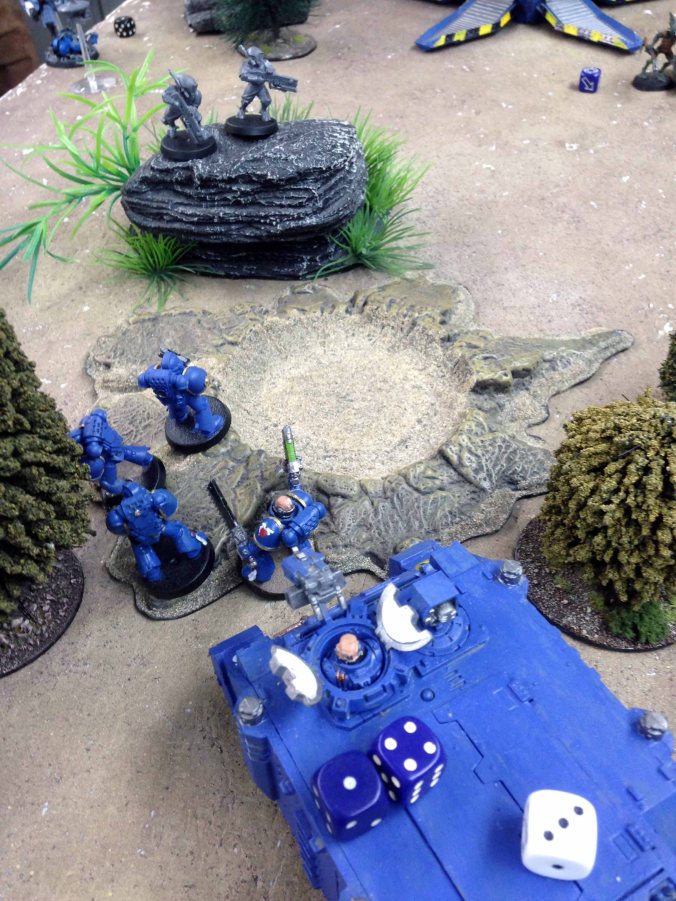
Not much left for the marines, but they press on regardless. TAC squad jumps back in the rhino and they try to flank the objective, while the vindicator annihilates the broadside guarding it.

Turn 4:
Tau manage to surround the vindicator, but fail to destroy it. Flanking rhino is glanced by the commander, but nothing more
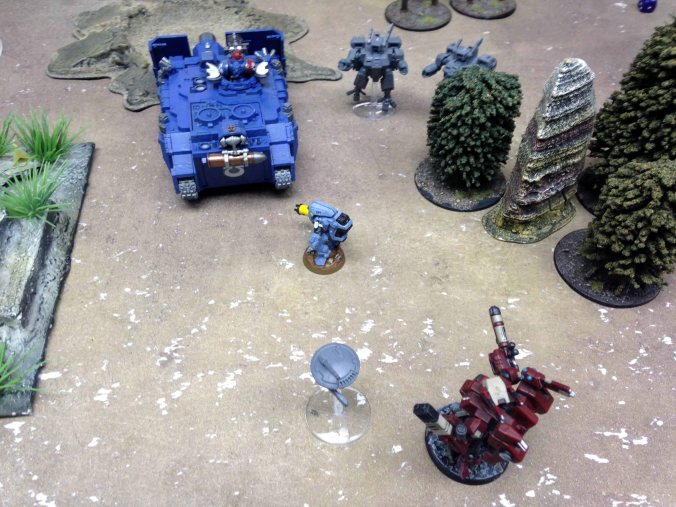
Marines pile out of the rhino and kill a drone and put a wound on the commander. The vindicator also manages to take out both plasma crisis suits, but its too little too late
Turn 5:
Tau don’t achieve much in their phase, but the marines do manage to blow up an objective for having held it for a whole turn. We roll to see if the game continues, but it doesn’t.
Result:
Tau win 6:2
Decisive moment – the bike squad not charging the Kroot on turn 1. A tough call for the Ultramarines, as the over watch trap was very real and could just as easily been devastating. However, by charging they would have at least had a chance to break out T2 and start terrorizing the Tau supporting units and claiming objectives. As it was, they never broke the Kroot line and were contained and ultimately destroyed by volume of fire.
Tau MVP: Kroot. Not often these guys are the hero of the Tau hour, but they and their supporting stealth teams did a fantastic job of containing the most dangerous enemy unit on the board, allowing the Tau firepower to bear down on them for three turns.
Ultramarines MVP: Vindicator. Racked up the most kills of any unit, taking out three suits, a broadside and a couple of the pesky kroot to boot.
